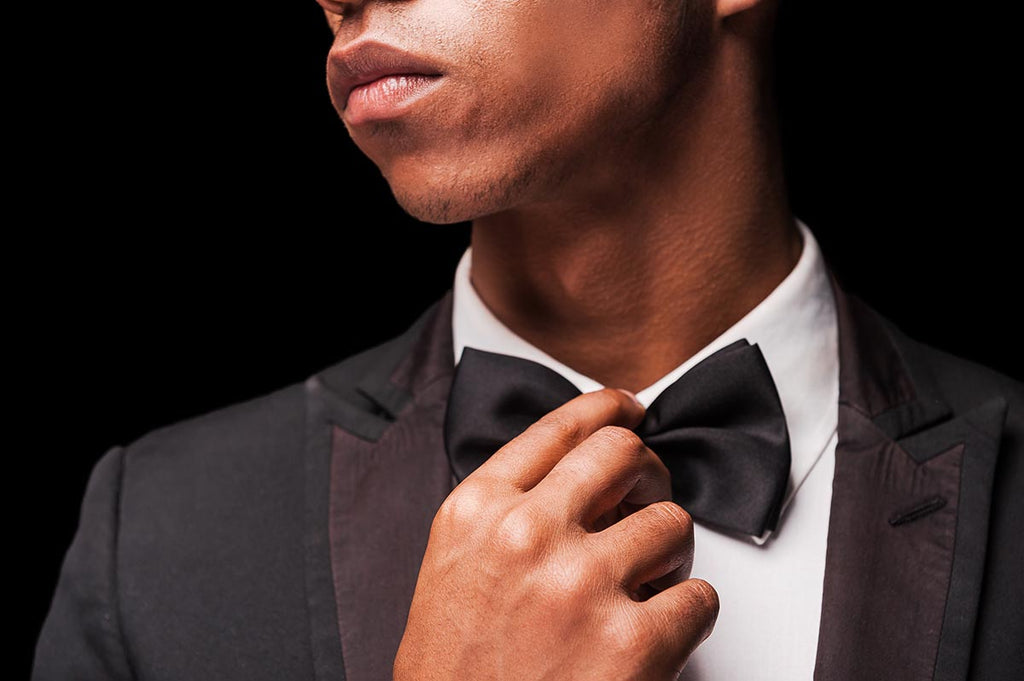
Tying a bow tie is a skill that adds a touch of elegance and individuality to a person's style. Unlike the pre-tied varieties, a self-tied bow tie has a certain allure that conveys a message of sophistication and attention to detail. Learning to tie a bow tie is a rite of passage in the world of formal attire and, with practice, it becomes a simple yet rewarding task.
Starting with the right length is essential, as one end should rest slightly lower than the other when draped around the collar. This asymmetrical arrangement allows for a precise knot that sits comfortably at the neck and complements the wearer's profile. The process requires a sequence of folds and tightens to achieve the iconic bow shape, an art that once mastered, provides confidence and a sense of accomplishment.
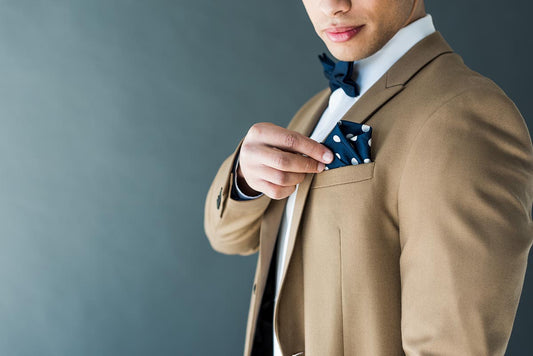
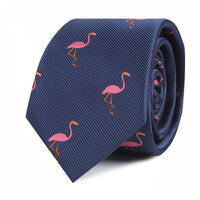
While selecting a bow tie, considering its fabric and design can greatly influence overall appearance. Silk and velvet are popular choices for their luxurious feel and timeless appeal. Bow ties come in various colours and patterns, offering a way to express one's personal style and to coordinate with the event or ensemble. Whether attending a gala, wedding, or any black-tie affair, the ability to tie one's bow tie is an indispensable skill that polishes the final look.
Understanding Bow Tie Styles and Selection
Selecting the appropriate bow tie involves understanding the different styles and discerning which type is suitable for the occasion. A bow tie can complement both tuxedos and suits, adding a touch of individuality to formal attire.
Choosing the Right Bow Tie
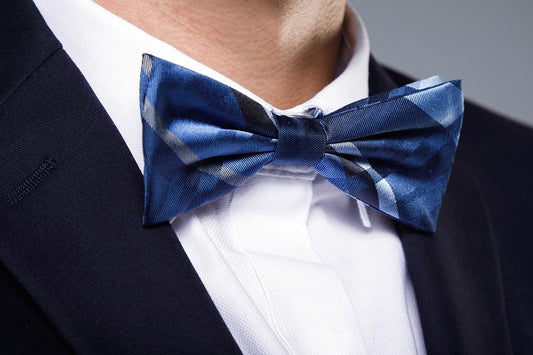
One must consider the event and the attire when choosing a bow tie. For formal events such as black tie affairs, a classic black bow tie is essential, while white bow ties are reserved for very formal white tie events. Varieties such as the batwing, with its flat ends, and the pointed, which has pointed tips, offer different silhouettes. Patterns and colours can range from the traditional, like navy or paisley, to more vibrant and modern designs. For semi-formal or casual settings, one might opt for bow ties with unique patterns or bolder colours, like a red bow tie.
- Formal occasions: A black bow tie is standard; a white bow tie suits white tie events.
- Bow tie styles: Batwing and pointed are two popular shapes.
- Colours and patterns: Navy and paisley are classic; champagne adds flair.

Differences Between Pre-Tied and Self-Tie
When deciding on a bow tie, it's important to note the differences between pre-tied and self-tie options. Pre-tied bow ties are convenient and provide a consistent look as they come with a fixed bow and an adjustable strap. In contrast, self-tie bow ties require one to knot them manually, offering an authentic and personalised touch, as the slight asymmetry of a hand-tied bow is often considered a sign of sartorial expertise. While the pre-tied variant can be suitable for those seeking ease or uniformity, the self-tie is the choice for traditionalists and is often expected in very formal settings.
- Pre-tied bow ties: Convenient, with a consistent bow shape.
- Self-tie bow ties: Requires knotting and conveys authenticity.
Preparing to Tie a Bow Tie
Before one begins the process of tying a bow tie, it is essential to ensure that they have dressed appropriately for the occasion and that the bow tie is positioned correctly with the right neck measurement.
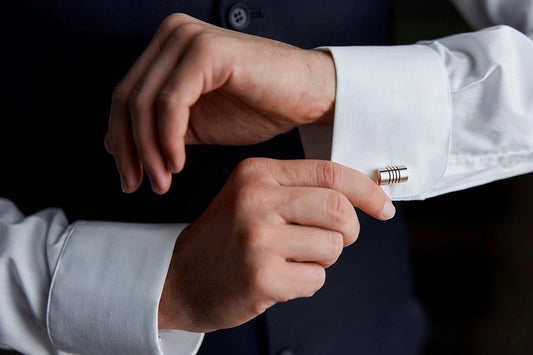
Dressing for the Occasion
When getting dressed, the individual must choose a shirt with a collar that complements neckwear. For formal events, one should opt for a wing collar or a turndown collar, which provides a neat frame for a bow tie. If the event is less formal, a standard button-down collar may suffice. The shirt should be fully buttoned up.
Correct Positioning and Neck Measurement
The neck measurement is pivotal for a comfortable fit; therefore, one should adjust the bow tie so that it aligns with their neck size. This is done before placing the tie around the neck. One end should be made slightly longer than the other to facilitate the tying process. Traditionally, the left end is the longer end. The tie should then be placed around the neck, resting under the shirt collar with equal pressure on both sides to ensure symmetry in the final appearance.
- Longer end should be on the left.
- Shorter end on the right.
- Ensure an even and snug fit around the collar.
With these preparations, the individual is now properly set up to proceed with the actual steps of tying a bow tie.
The Bow Tie Tying Process
Tying a bow tie involves precise folds and loops to achieve the classic bow shape. This section outlines the steps necessary to self-tie a bow tie, ensuring the symmetry and balance needed for a polished look.
Making the Initial Fold
One begins by draping the bow tie around the neck, ensuring that end 'A' is longer than end 'B' by about 4 centimetres. They then cross end 'A' over end 'B', creating the first knot at the base of the neck loop. It is essential that the knot sits snugly against the collar without constricting the neck.
Forming the Bow Shape
After the initial knot, they must fold end 'B' into a bow shape by doubling it at the widest part. This forms the first half of the bow. They maintain the shape by pinching the fold and lay end 'A' over the centre of the bow.
Creating the Knot and Loops
Once the bow shape is pinched in place, the individual loops end 'A' around and underneath the bow, pulling it through the gap behind the bow shape. After adjusting the bow to ensure both ends are symmetrical, they tighten the loop by pulling on both folded parts. This secures the bow tie, completing the tying process with a balanced batwing bow tie appearance.
Perfecting the Tied Bow Tie
Securing a flawless bow tie involves precise adjustment and attention to detail. One must ensure both fit and symmetry for elegance, particularly important for grooms, groomsmen, and best men aiming to stand out with polished silhouettes.
Adjusting the Fit and Symmetry
- Fit: They start by ensuring the bow tie fits snugly around the collar without constricting the neck. One side should be slightly longer than the other when they begin to tie it.
- Symmetry: After tying the knot, they can tweak the loops and ends by gently pulling and adjusting to achieve a balanced, symmetrical shape. Both loops should be of equal size and the ends should line up with each other.
Additional Tips for a Polished Look
- Fabric Choice: Selecting a quality fabric can make a significant difference. For instance, silk or wool can add a touch of sophistication.
- Proper Storage: To prevent wrinkles and maintain the tie's shape, it should be rolled up or hung properly after each use.
By attentively adjusting the bow tie, they can ensure a sharp, distinguished appearance that complements formal attire. Proper care coupled with meticulous adjustment lends to the standout looks desired in formal settings.